
Installing NPM and Yeoman on Ubuntu 14.10
Behind the Corporate Proxy
I'm writing this one down as it took me so long to work out. As always, the setting is a corporate environment, so the real title for this should be something like:
Installing NPM and Yeoman on Ubuntu 14.10 Behind a Corporate Proxy.
In fact, there's a lot more happening here than just NPM and Yeoman, and the title could have been more like:
Installing NPM, NodeJS, Grunt, Bower, Yeoman, Compass and AngularJS on an Ubuntu 14.10 Docker Container Behind a Corporate Proxy.
Since I am doing this an Ubuntu 14.10 Docker container, my proxy URL looks like this:
http://172.17.42.1:3128
Throughout this guide, when you see proxy configurations of this kind, please substitute the correct proxy host and port for your environment.
Please Note - this guide assumes that some base utilities are available on your platform, including
curlandgit. These can be installed usingaptby running:apt-get install curl git -y
For details on how to get Aptitude up and running behind a proxy, please see the post: Apt and the Corporate Proxy.
Credits
The following sites helped me put this post together:
- Joyent - Installing Node.js via package manager
- DigitalOcean - How To Install Node.js on an Ubuntu 14.04 server
- JJT.io - Easy Angular development with Yeoman & generator-angular
In addition, I made use of information across a range of sites to find consistent ways of getting tools like apt, npm, gem, grunt, bower etc. to all work correctly behind a corporate proxy.
Step 1 - Install Latest nodejs via nodesource
This is a variation of the steps provided on the Joyent Wiki, Installing Node.js Via Package Manager, with support for interacting with a corporate proxy.
As the
rootuser, create a new file called/root/.curlrcwith the following contents:proxy = 172.17.42.1:3128Where the proxy host and port values are replaced by those from your environment.
Run the setup script straight off the web using:
curl -sL https://deb.nodesource.com/setup | sudo bash -After a successful run, the script will indicate that
apt-get installis ready to run:
Install
nodejsusing the following:apt-get install nodejs -yCheck that
npmhas installed successfully by runingnpm --version, you should see something like this:
Step 2 - Using npm to Upgrade npm
This is one method I found worked to get npm upgraded to the very latest version available.
Create a new file called
/root/.npmrcwith the following contents:proxy = http://172.17.42.1:3128 https-proxy = http://172.17.42.1:3128Run the following to retrieve and install the latest version of
npm:npm install -g npm@latestThe output should look something like the following:

Check that the latest
npmis available on the path bynpm --version. A newer version number from the one reported earlier will be displayed:
Step 3 - Install Grunt, Bower, Yeoman and the Angular Generator
Install the latest Grunt and Bower package by running the following:
npm install -g grunt grunt-cli bowerCheck the installed versions of Grunt and Bower by running
grunt --version && bower --version, the result should look like the following:
Install Yeoman by running:
npm install -g yoCheck the version of Yeoman by running
yo --version, the result should look like the following:
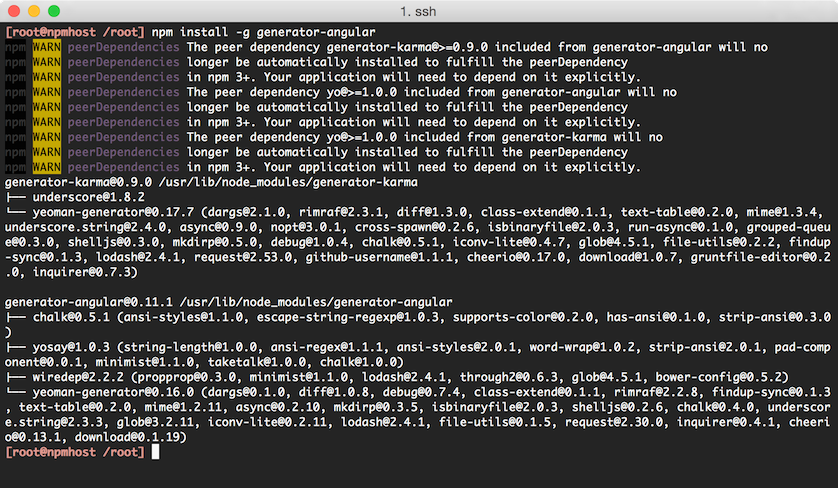
Install the Yeoman angular project generator globally using the following:
npm install -g generator-angularNote the name used here, since both
generator-angularandangular-generatorwill both return a successful result, however it is thegenerator-angularpackage that we want for this example.A successful install will look something like the following:
Step 4 - Install Compass
Our example Angular project will use compass, which we will install via the ruby gem.
Install the following packages to get
gemand the build tools required to install compass:apt-get install ruby-full build-essential -yCreate a new file called
/root/.gemrcwith the following contents:http_proxy: http://172.17.42.1:3128 https_proxy: http://172.17.42.1:3128Install
compassby running:gem install compass --preWhen successful, the version of compass can be checked using
compass --version:
Step 5 - Create New User for Angular Project
It is recommended that the Yeoman application, or the yo command, is not run by root as this may cause some of the tools to start complaining about security and file permissions (please see this thread for an example of some of the issues that you may encounter when running as root). Instead, we will create a new user to set up the new Angular project.
For this example, the new user will be called developer, however any valid username can be used here.
Create a new non-root user to manage the new Angular project by running:
adduser --disabled-password --gecos "" developerEnsure that
developerhassudoaccess by updating/etc/sudoersand adding the following entry:developer ALL=(ALL) NOPASSWD: ALLSwitch to the
developeruser and create a new file called~/.npmrcwith the same contents as forroot:proxy = http://172.17.42.1:3128 https-proxy = http://172.17.42.1:3128To allow
bowerto use the proxy, create a new file called~/.bowerrcwith the following contents:{ "proxy":"http://172.17.42.1:3128", "https-proxy":"http://172.17.42.1:3128" }Lastly, still as the
developeruser, run the following to ensure thatgitalso uses the proxy when called frombower:git config --global http.proxy http://172.17.42.1:3128 git config --global https.proxy http://172.17.42.1:3128
Step 6 - Start New Angular Project
Still as the
developeruser, create a new project calledexampleand install the generator for the project, by running:mkdir ~/example && cd ~/example npm install generator-angularPlease ignore the warning about the
~/.bowerrcduring this execution. We are choosing convenience over safety by using a global config file instead of one per project. While the suggestion is great, I can't see the corporate proxy here going away any time soon.Start the generator by running:
yo angularWhen prompted with questions, stick with the default settings for now.
Please be patient with this section as the generator installs and configures a range of packages, includeing bower and grunt, to start off the new project.
Step 7 - Grunt Serve
At this point, we can see the result of the Yeoman generated project by running:
grunt serve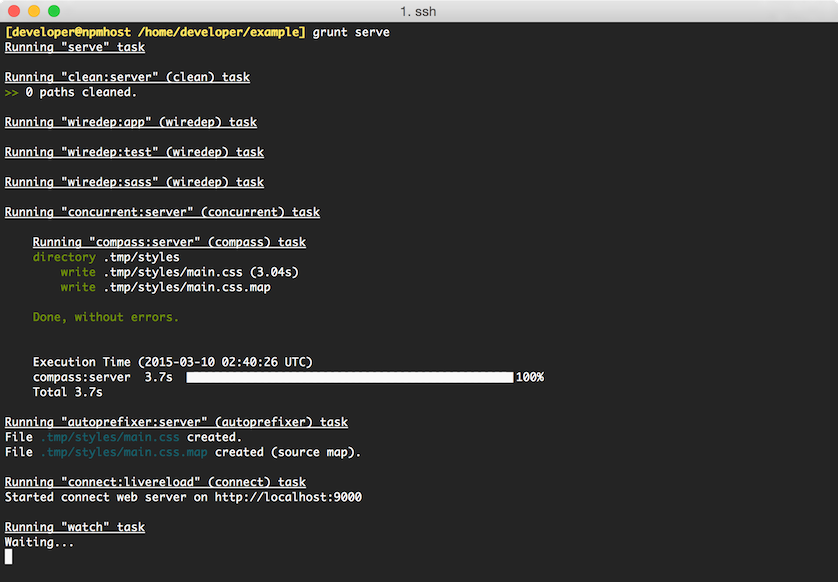
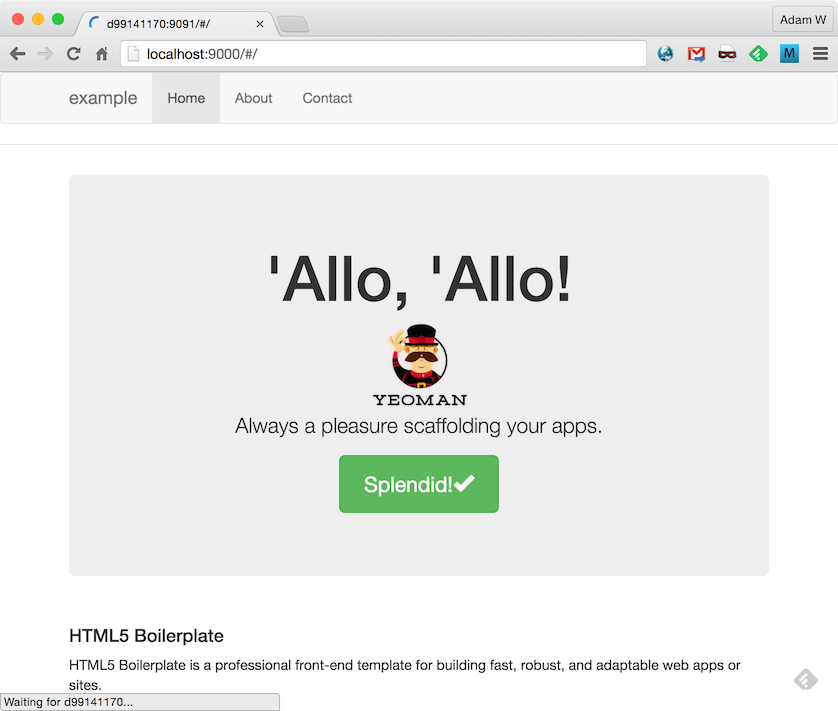
If all goes well, we will be able to visit http://localhost:9000 and see the following site:
A Note About Grunt Serve on Docker
I used a docker container for the purpose of documenting this guide, with a port configuration mapping the docker host port 9000 to the container's port 9000. Initially, my browser failed to see the grunt serve process as the default configuration in the Gruntfile.js file is set to only receive connections from the local machine.
In order for the browser to see the grunt serve process through the port forwarding on the docker host, I had to update the Gruntfile.js configuration of the project so that the connect → options → hostname value on line 71 pointed to 0.0.0.0:
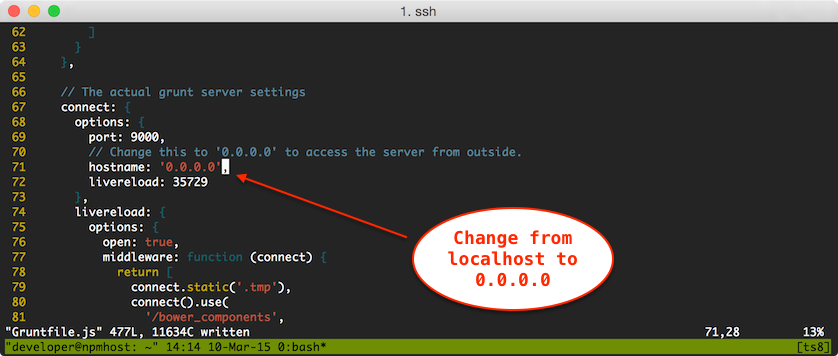 |
Then when the grunt serve process was restarted the site was served through to the docker host as expected.